Keep in mind, this procedure should only be attempted by a trained technician.
- Turn off your projector
- Remove both cover panels from the bottom of the touch panel by carefully pulling the bottom edge away from the bezel
- Disconnect all cables from the touch module including the power cord
- Unscrew the fastener holding the micro USB to the touch module
- Disconnect the micro USB
- Unscrew the four screws from the touch module cover using a Philips number two screwdriver
- Remove the cover
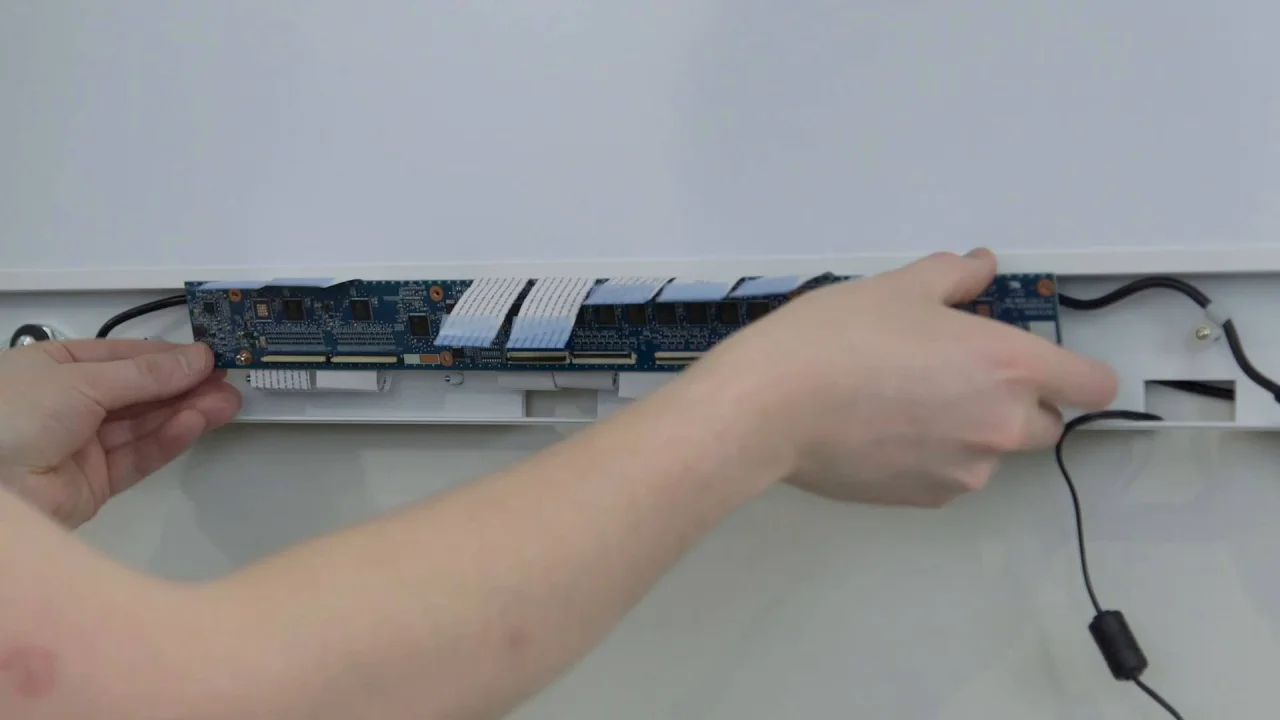
- Starting left to right, flip the locking clip downward. Gently slide the ribbon cable up and out of each connector.
Be gentle with the ribbon cables, and make sure you don’t tug or dislodge them.
- Unscrew the four screws connecting the touch module circuit board to the touch panel. Remove the touch module.
- Put the new touch module where the old one was. Secure it with the same four screws from the old circuit board.
- Starting right to left, re-insert each ribbon cable into its connector. Flip the locking switch back into place, securing the ribbon cable.
- Re-attach the touch module cover by using the same four screws that we removed earlier
- Reconnect all the cables, including the power cord and the micro USB. Make sure you screw the micro USB’s fastener into place too.
- Re-start your PC.
- Go through the system matching and calibration steps in your Nureva Room Manager.
See our setting up touch video if you’re not sure how.
- Test touch on all four corners of your touch panel
- Re-attach the touch module cover by using the same four screws that we removed earlier
- Replace the left and right touch panel covers. Press lightly until they snap back into place.
